
Achieving a successful boat wrap installation requires selecting high-quality materials offering durability and protection against UV rays, water damage, and fading. Prepare the boat's surface thoroughly by cleaning, repairing damage, and ensuring dryness. Follow a meticulous application process with primer, adhesive, and scratch protection. Maintain your wrap with regular cleaning, avoid direct sunlight, apply protective coatings, and conduct routine inspections for early damage detection. These steps ensure optimal lifespan and aesthetics for your boat wrap installation, enhancing your vessel's value through vehicle enhancement techniques.
“Elevate your boat’s aesthetics and protection with a seamless, bubble-free boat wrap installation. This comprehensive guide delves into the process, materials, and best practices for achieving a professional finish. From understanding specialized wrap materials and meticulous preparation to step-by-step instructions for a bubble-free application, this article equips you with the knowledge for a successful project. Learn about ongoing maintenance and care tips to ensure long-lasting, high-quality results for your boat wrap installation.”
- Understanding Boat Wrap Materials and Preparation
- Step-by-Step Guide to Bubble-Free Installation
- Maintenance and Care for Long-Lasting Results
Understanding Boat Wrap Materials and Preparation

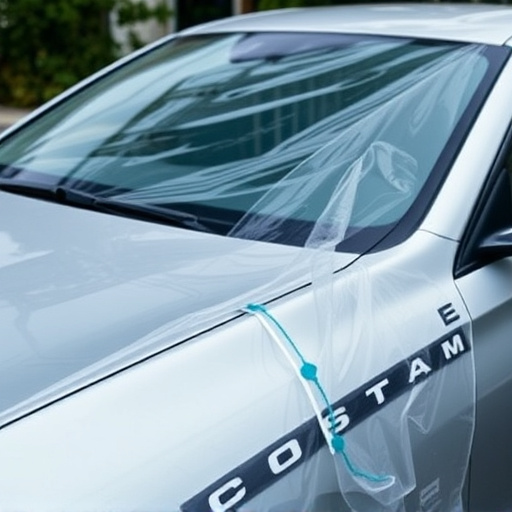
Understanding Boat Wrap Materials and Preparation is a critical step in achieving a seamless, bubble-free installation during any boat wrap application. The right materials are key to ensuring the best results; high-quality wraps specifically designed for boats offer excellent durability and protection against UV rays, water damage, and fading. These materials come in various finishes, allowing you to choose between matte, glossy, or carbon fiber looks, catering to different aesthetics and preferences.
Before starting any boat wrap installation, thorough preparation is essential. This includes cleaning the boat’s surface thoroughly to remove dirt, grease, and wax to ensure optimal adhesion. It’s also crucial to repair any existing damage, like cracks or scratches, and ensure the surface is dry and free from moisture. Proper preparation not only enhances the appearance of the wrap but also contributes to its longevity, serving as a protective coating for your boat while enhancing its overall value through vehicle enhancement techniques.
Step-by-Step Guide to Bubble-Free Installation
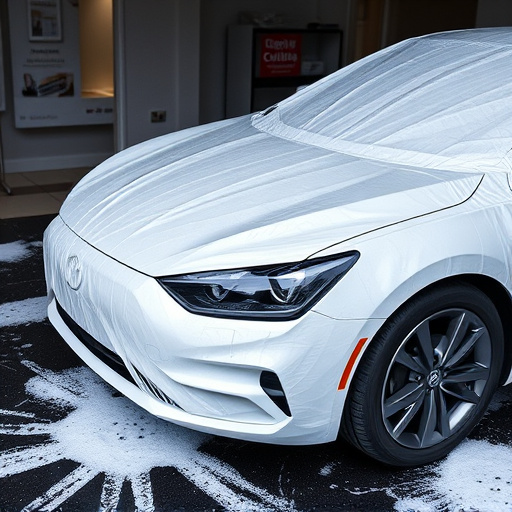
Achieving a seamless, bubble-free boat wrap installation requires meticulous preparation and precise application techniques. Here’s a step-by-step guide to help you master this process:
1. Prepare the Surface: Begin by thoroughly cleaning and inspecting the boat’s surface. Remove any dirt, grease, or existing wraps using dedicated solvents and abrasive materials. This crucial step ensures optimal adhesion for your new wrap. Address any issues like scratches or paint correction beforehand to create a smooth canvas.
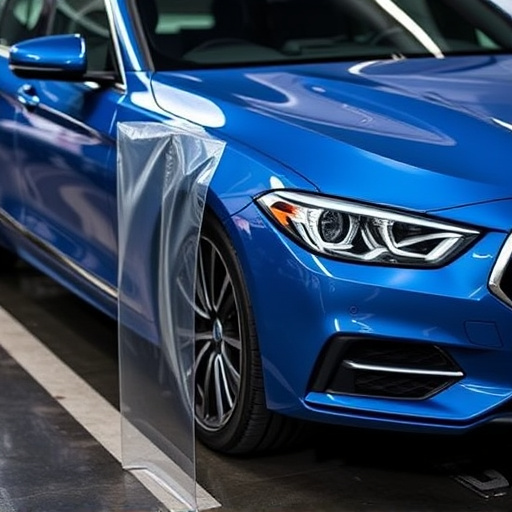
2. Apply Primer and Adhesive: After cleaning, apply a high-quality primer designed for boat wraps. Allow it to dry completely according to the manufacturer’s instructions. Next, use a professional-grade adhesive specifically formulated for wrap installation. Spread it evenly across the surface using a smooth roller or applicator, ensuring full coverage without gaps or overlaps. This step provides a strong bond between the wrap and the boat’s exterior, offering superior scratch protection.
Maintenance and Care for Long-Lasting Results
Proper maintenance and care are essential for ensuring the longevity of your boat wrap installation. Regular cleaning with mild soap and water, along with a soft cloth or sponge, will help maintain the sleek look and protect the wrap from dirt, grime, and salt water. Avoid using abrasive cleaners or scrub brushes that could scratch the surface. Additionally, keeping the wrap dry and avoiding prolonged exposure to direct sunlight will prevent fading and premature aging.
For optimal results, consider applying a protective coating after the initial installation. Ceramic window tinting, known for its durability and high-quality finishes, can shield the wrap from UV rays, reduce the need for frequent reapplication, and enhance the overall aesthetic appeal of your boat. Regular inspections are also crucial to identify any signs of damage or wear early on, allowing for prompt repair or replacement to maintain the investment in your vehicle wraps.
Boat wrap installation has evolved into a seamless, bubble-free art that enhances vessel aesthetics and protection. By understanding the materials and proper preparation techniques, you can achieve a professional finish that lasts. Follow our step-by-step guide for an efficient application process, ensuring your boat wraps not only protect but also stand out in the water. Regular maintenance and care will further extend their lifespan, keeping your boat looking pristine for years to come.